UPDATE***Rear disc grinding Do-it-Yourself UPDATE***
#1
UPDATE...Please read post # 20 
Disclaimer:
This is not recommended for anyone that has little patience (like me) Actually I'm not recommending it to anyone, unless you really know how to use a palm and belt sander the right way.
I know what you are thinking already. You can't do a job like this with an ordinary palm and belt sander. Yes you can, but like was said above, you have to really be patient. And you need to use a method that keep the process the same all throughout project.
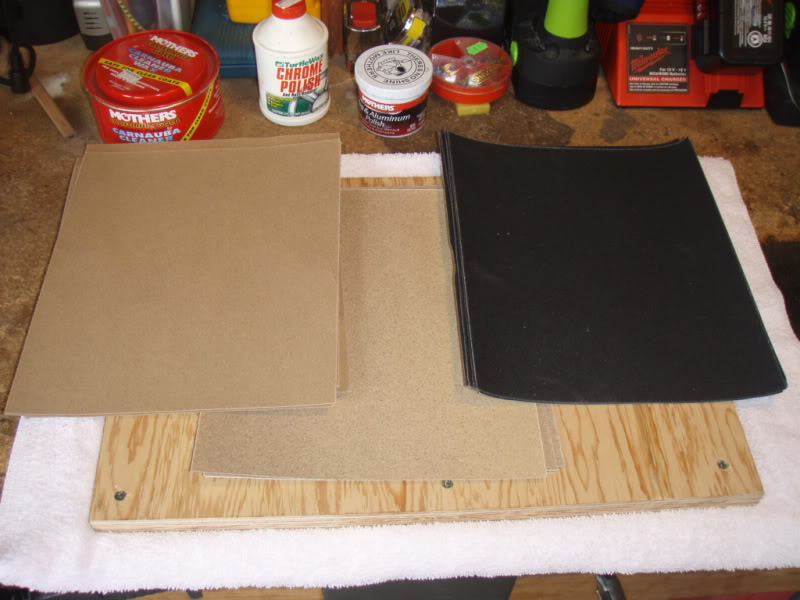
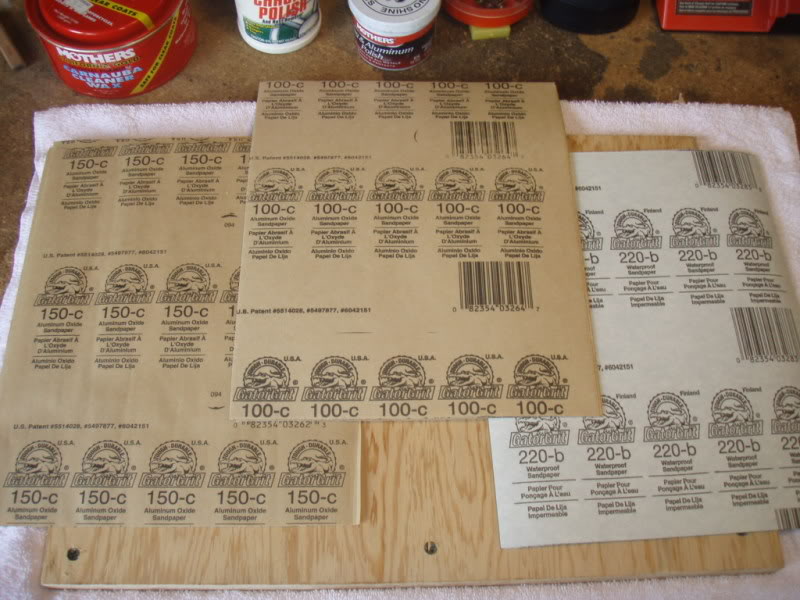
I started with 150 grit, which was going to take 10 hours to really even begin to work. So I switched to 100 which helped.
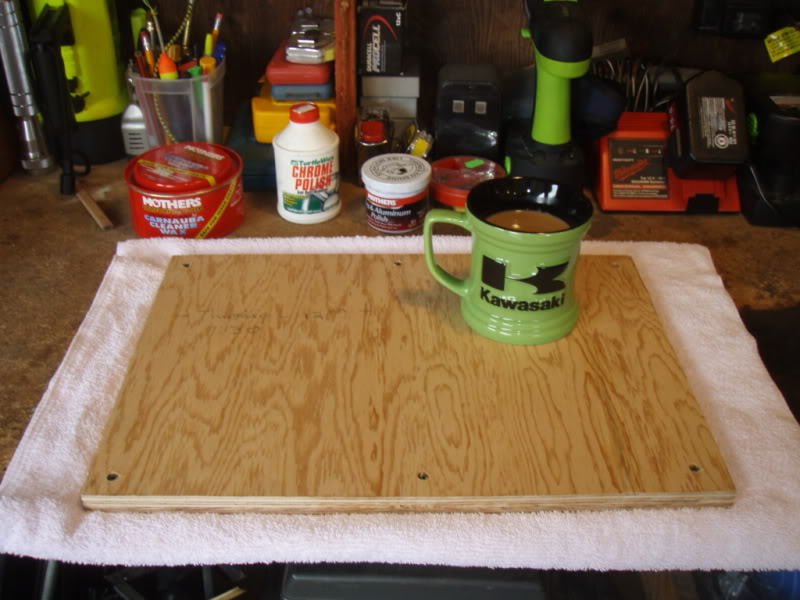
But first let me say that you need to completely level, and immobilize that disc before you do any work on it. The last thing you need is for it to vibrate and walk around the bench. Oh and coffee....coffee is the key to everything.
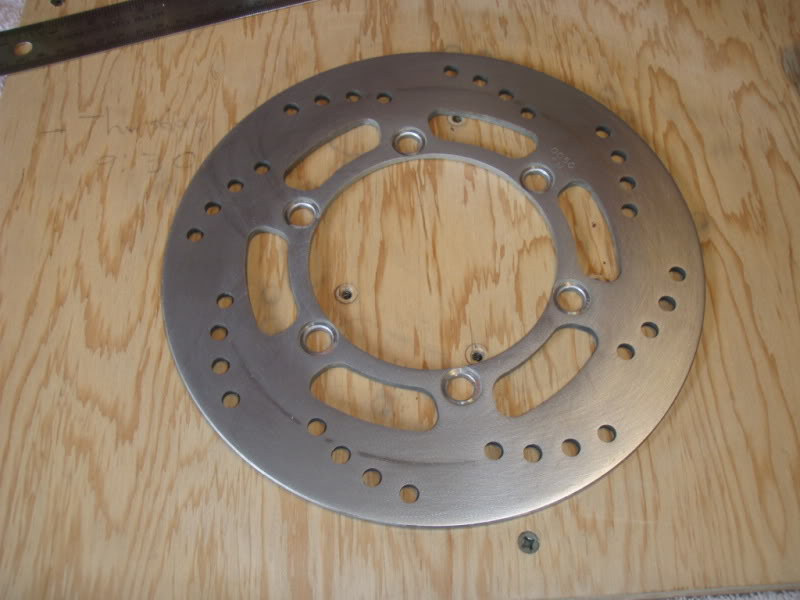
Brake disc before
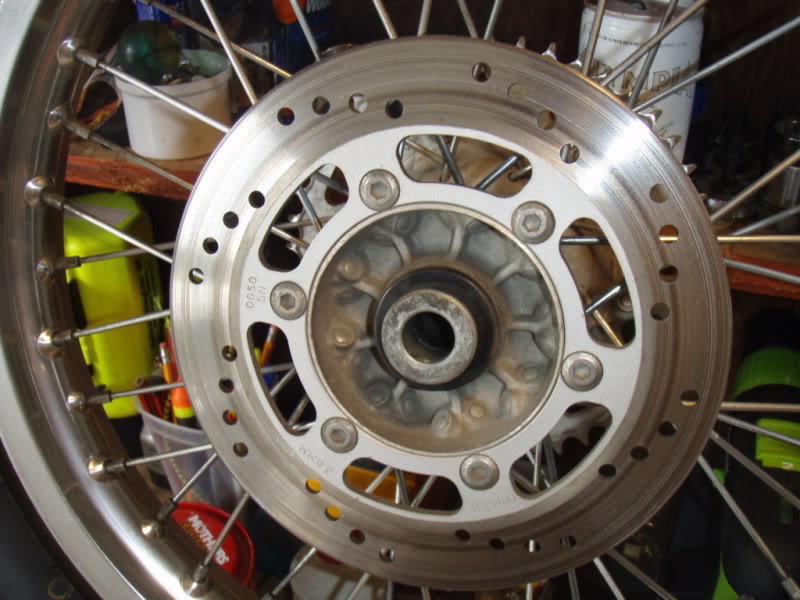
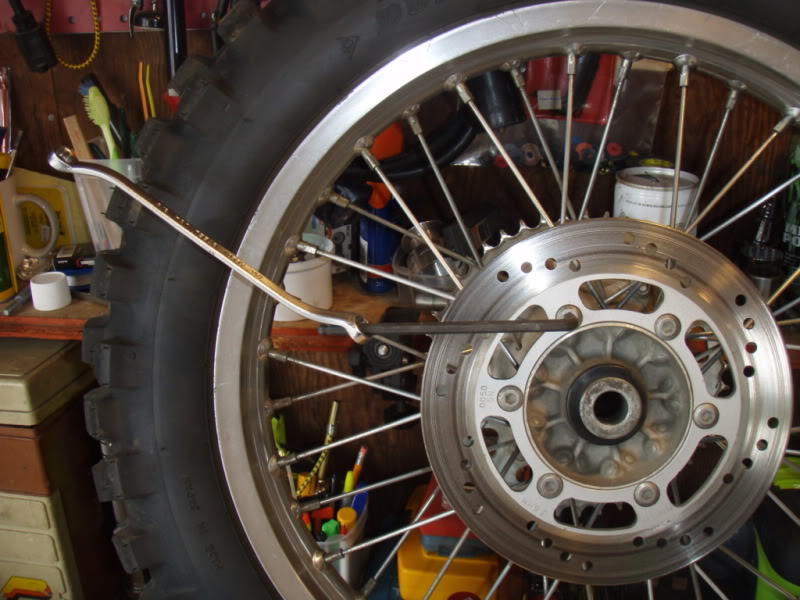
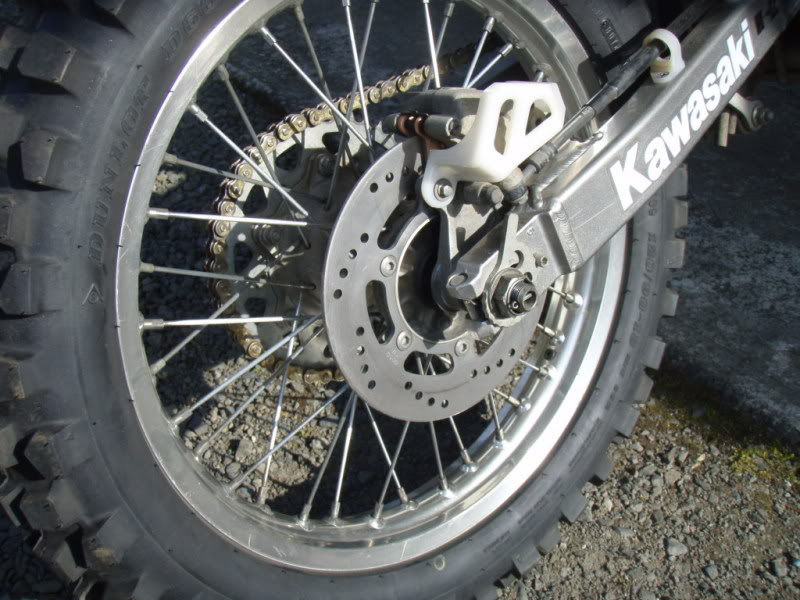
Removing the disc, and make sure to clean up the threads and use loctite when reinstalling. Its in there for a reason.
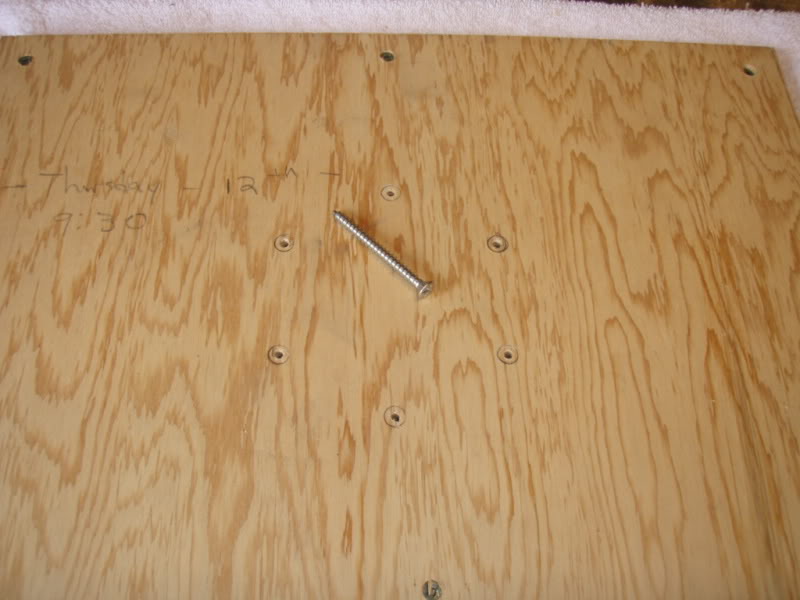
I found some stainless screws that fit perfectly in the bolt holes to hold it in place. Here is the pattern.
Ok
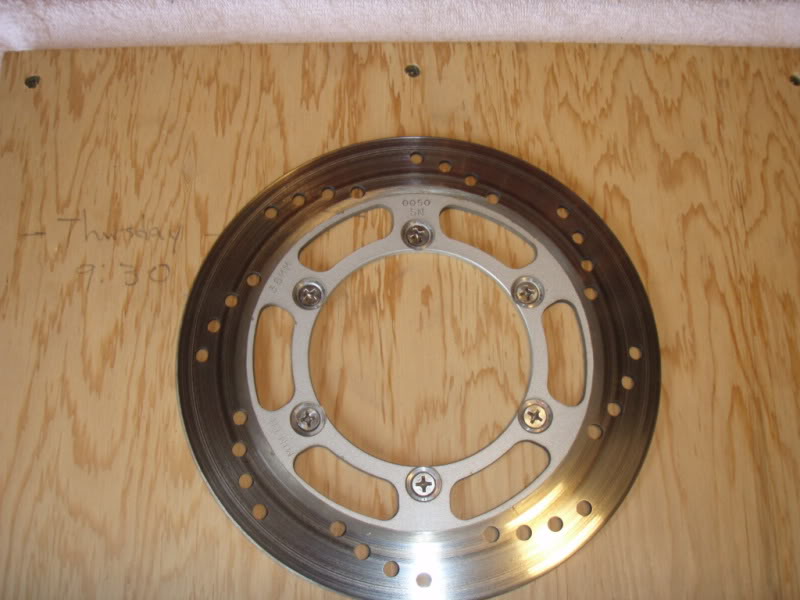
revolution for every 2 seconds. As you can see by the marks on the disc, that it is possible to do this in an even process. But again, I spent almost 3 hours on this process, and one more thing, you need an air compressor to blow off the disc and keep it cool between
One last picture of my assistant.
Summary: Its not for everyone, its not the best way to do this. You have to have the patience of Job. But the reason I did this was if you remember from my previous post I was getting a God awful noise at light pressure on the rear brake from chattering across the disc. Went for a 20 minute ride after I was done and its perfect, and in fact there is no surging or noise and the brakes actually grab like when the bike was brand new.

Disclaimer:
This is not recommended for anyone that has little patience (like me) Actually I'm not recommending it to anyone, unless you really know how to use a palm and belt sander the right way.

I know what you are thinking already. You can't do a job like this with an ordinary palm and belt sander. Yes you can, but like was said above, you have to really be patient. And you need to use a method that keep the process the same all throughout project.
I started with 150 grit, which was going to take 10 hours to really even begin to work. So I switched to 100 which helped.
But first let me say that you need to completely level, and immobilize that disc before you do any work on it. The last thing you need is for it to vibrate and walk around the bench. Oh and coffee....coffee is the key to everything.


Brake disc before

Removing the disc, and make sure to clean up the threads and use loctite when reinstalling. Its in there for a reason.

I found some stainless screws that fit perfectly in the bolt holes to hold it in place. Here is the pattern.

Ok

Ok
so the process is like this: Steady pressure, change the paper often, and go in a clockwise motion making 1 revolution for every 2 seconds. As you can see by the marks on the disc, that it is possible to do this in an even process. But again, I spent almost 3 hours on this process, and one more thing, you need an air compressor to blow off the disc and keep it cool between
sandings
.


One last picture of my assistant.


Summary: Its not for everyone, its not the best way to do this. You have to have the patience of Job. But the reason I did this was if you remember from my previous post I was getting a God awful noise at light pressure on the rear brake from chattering across the disc. Went for a 20 minute ride after I was done and its perfect, and in fact there is no surging or noise and the brakes actually grab like when the bike was brand new.

Last edited by deej; 06-07-2009 at 04:22 PM.
#7
Good job there Deej. Just got to watch the minimum thickness on the rotor. Heres one for the really lazy guy who doesn't mind loosing a finger or two. Leave the rotor on the bike jack it up fire it up stick it in gear and sand away. LOL, my meds must be wearing off. This is just a joke guys dont take it seriously.
#8
.
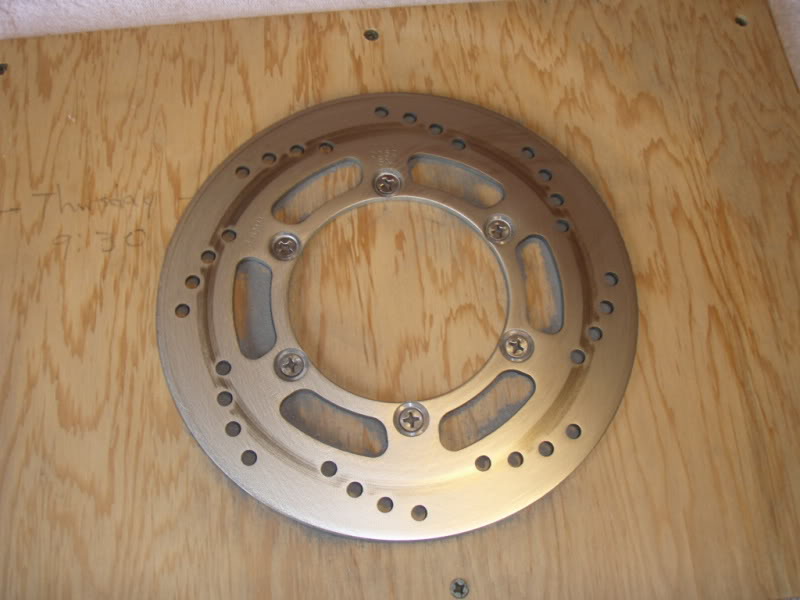
Oh and one more thing I forgot to mention, you don't have to get all of the marks and especially the low spots out of a disc, as long as you get all of the high ridges out that are causing the new pads to hit wrong and make noise.
 You can see that I didn't get it all out. Oh and you will notice on the disc that before I started the shoulder closest to the center which is about an inch and a half wide is actually taller that the rest of the rotor, so that prevented me from not only getting this done faster, but ultimately kept me from being able to get all of the marks out. I now wonder if I could have traded the machine shop a dozen donuts to see if they could turn the thing the right way....Oh well. Its all good.
#9
Good work Deej, glad to hear the brakes are working again for you... Regarding quicker/better ways to do it, a machine shop with a surface grinder could have done that in 5 minutes.. IF they would take on a small/pays nothing job like this. If you have a friend in a machine shop then yeah - problem solved..
How many miles were on your rotor?
How much does a new rotor cost?
~Steve
How many miles were on your rotor?
How much does a new rotor cost?
~Steve


