
Repairing plastics, welding plastics
#11
 02-13-2009 | 08:20 PM
Thread Starter
|
Senior Member
Joined: Mar 2008
Posts: 3,406
From: N. Illinois
1st Gear Member
"FYI... when you buy OEM plastics they come w/ the decals. My experience anyway..."
Ahh I see. They must sell the decals separately from the shroud for people that only need to replace the decal. Good to know
Heat gun might work to shine the plastic mandark, but I tried by using the welder, and only got OK results.
Ahh I see. They must sell the decals separately from the shroud for people that only need to replace the decal. Good to know
Heat gun might work to shine the plastic mandark, but I tried by using the welder, and only got OK results.
#12
02-13-2009 | 09:14 PM

Member
1st Gear Member
Joined: Feb 2008
Posts: 72
From: SE Ohio - Home of the Mudrunners
RockyMountainATV/MC sells a plastic welder plus rods for $45.99 #103-596. I'm not sure if it's the same tool that Harbor Freight sells. If you do a search for kayak repair you'll find similar outfits. Kayaks use the same kind of plastic as dirt bikes and ATVs. Your job looks pretty good; much better than the zip tie stitching. Cover it with stickers and it'll look factory. An added benefit: you can fix your buddies' plastic, charge them a minimal fee, and the tool ends up paying for itself.
#14
11-07-2009 | 01:41 AM
Thread Starter
|
Senior Member
Joined: Mar 2008
Posts: 3,406
From: N. Illinois
1st Gear Member
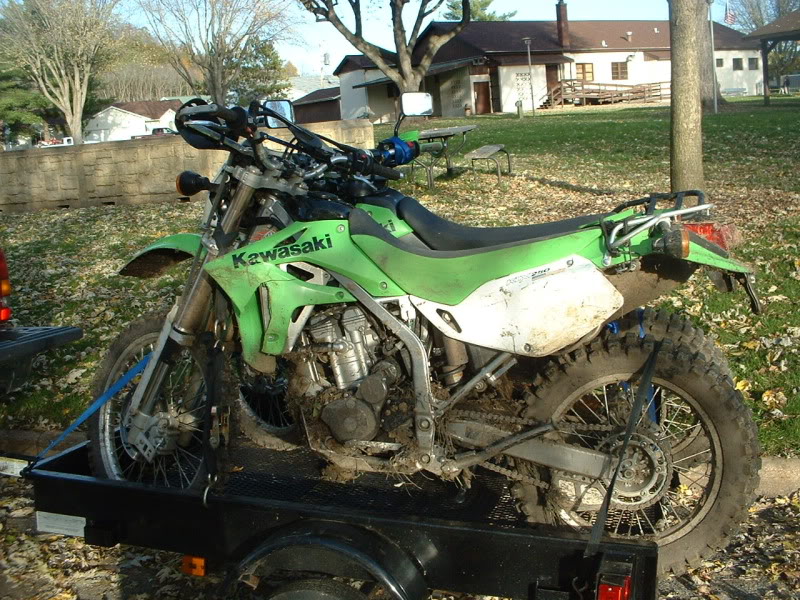
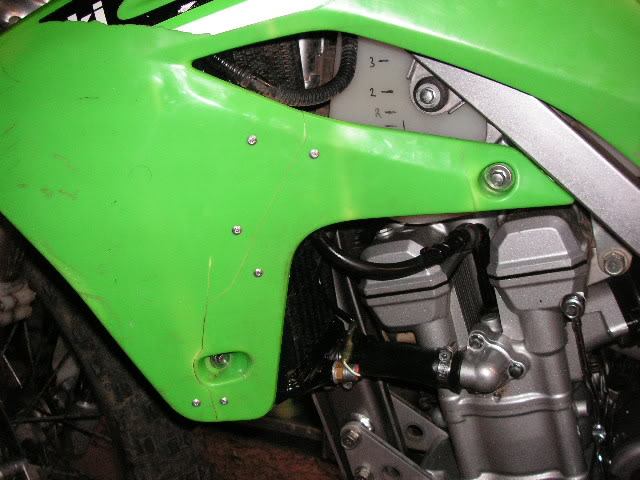
Follow up. Save your $$, don't bother with the plastic welder. When I was getting ready for the Bucky DS ride, (https://www.kawasakiforums.com/forum...t=30711&page=2) I decided to put the old shrouds on since I would be beating the bike a bit. Glad I put them on. I smashed the one that I had repaired earlier in this thread. I didn't expect the repaired shroud to be as good as new so I wasn't surprised when it didn't take much abuse before breaking again. I was just glad I put the beaters on.
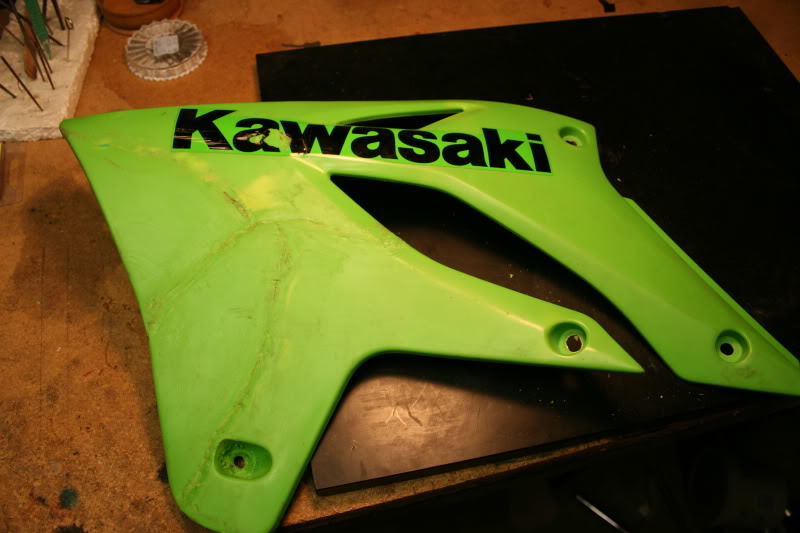
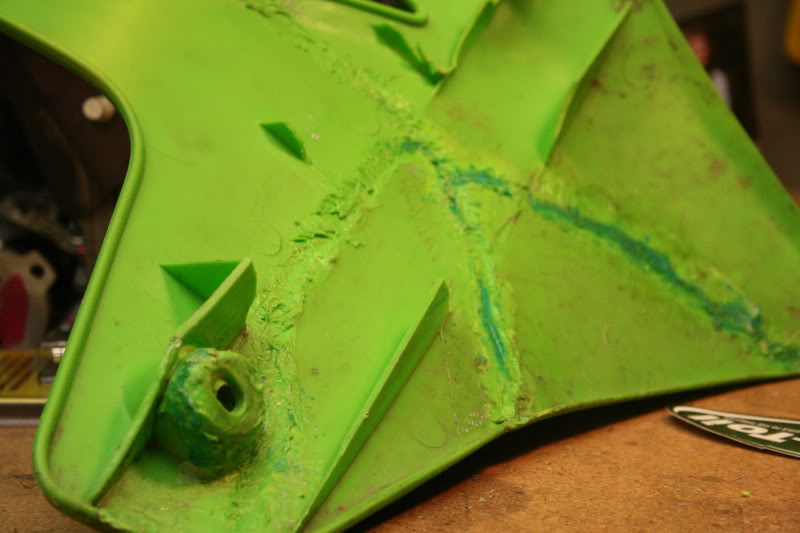
Once back home I decided to give the shroud another weld job. I was getting OK results again, and then halfway through the repair the welder cooled off. I think it may have burned out some of the heating elements. After that I got an old wood burning iron (very similar to a soldering iron, which I'm sure would also work) out and used that to melt both sides back together. I actually think I got a deeper, better bond using the woodburner. It didn't give a very good finish but neither had the plastic welder. They both only made servicable repairs.
Dan
My 4 piece shroud
Last edited by dan888; 11-07-2009 at 04:57 AM.
#15
11-07-2009 | 02:55 AM

Senior Member
Joined: Sep 2009
Posts: 618
From: WA state
1st Gear Member
Another method you can try that works with some kinds of plastic (like my snowmobile hood):
Glue the crack back together with superglue. When it dries, put more superglue in the v of the crack. Before it dries sprinkle baking soda on it. A chemical reaction will occur making hard surface that can almost be sanded. You can repeat f you want to build the area up. Best done on the back side where it can't be seen. Don't breathe the fumes.
Glue the crack back together with superglue. When it dries, put more superglue in the v of the crack. Before it dries sprinkle baking soda on it. A chemical reaction will occur making hard surface that can almost be sanded. You can repeat f you want to build the area up. Best done on the back side where it can't be seen. Don't breathe the fumes.
Last edited by RimBender; 11-07-2009 at 03:03 AM.
#16
11-07-2009 | 03:15 AM
Senior Member
1st Gear Member
Joined: Jul 2009
Posts: 1,385
From: Lake County, Ca.
Great Job Dan!
Thats Pretty Cool Too
Another method you can try that works with some kinds of plastic (like my snowmobile hood):
Glue the crack back together with superglue. When it dries, put more superglue in the v of the crack. Before it dries sprinkle baking soda on it. A chemical reaction will occur making hard surface that can almost be sanded. You can repeat f you want to build the area up. Best done on the back side where it can't be seen. Don't breathe the fumes.
Glue the crack back together with superglue. When it dries, put more superglue in the v of the crack. Before it dries sprinkle baking soda on it. A chemical reaction will occur making hard surface that can almost be sanded. You can repeat f you want to build the area up. Best done on the back side where it can't be seen. Don't breathe the fumes.


#19
11-07-2009 | 09:15 AM

Senior Member
1st Gear Member
Joined: Aug 2008
Posts: 960
I have a few comments and suggestions:
1. I'm f#cking impressed............seriously. That doesn't happen often.
2. Doesn't matter if you used it once or not. It costs $30 for the welder, and ten bazillion for the new plastic and stickers,.....which you would have busted the next ride anyway!
3. You'll get better at the welding. That was your first bead, welding takes many hours of training my young Padawan.
4. After your second job, turn the panel around and get one of those little butane torches and just liiiiiiiiiightly melt the back till you get a penetrating fusion going on. Might help... I've been down this road a few times myself.
5. Yes, the heat gun will work to smooth. But, in my experience, it only works if your plastic is effed up really bad and you want improvement. In my experience, it won't make it new again. It also takes a trained hand. If you have any old plastic, buff it up and try your hand there first. Be careful though, the point you need to smooth the plastic is its melting point (obviously) and the rest of the plastic is near its collapsing point. If you do it right it will look good, not new, but good.
6. You can get plastic bonding stuff.... it has all sorts of names. It basically melts the plastic on a chemical level and bonds that way. Usually its a different color, but after some buffing and sanding...then get some stickers to cover it up. universal number backgrounds work well. Get green and cover it right up. Never know it was there.
#20
11-07-2009 | 03:17 PM
Senior Member
Joined: Sep 2009
Posts: 618
From: WA state
1st Gear Member
Best results with a plastic welder or any melt job (like a soldering iron) will be using the same plastic that your trying to mend. If you have an old cover or can find a place that you can trim off some plsstic, like a out of site reinforcing rib, shave it up into shreds with a pocket knife or something. Use that material for your weld fill. Most plastics today are complex combination of chemicals, so it is unlikely to find a filler the same unless you use the same stuff. Even then it's hard to get a good bond.
Auto body shops use glue like products to repair plastic bumpers that work pretty good, but not cheap.
Auto body shops use glue like products to repair plastic bumpers that work pretty good, but not cheap.