How to: KCA removal on 09 KLX250S-California model
#1
I completed the free mods on my 2009 KLX250S California model and I thought it would be a good idea to do write up on how to remove the smog crap on the 09 CA model. First of all, let me thank everybody here for all the helpful information you guys have posted! I couldn't have done this without you guys! I have never done a write up of any sort so bare with it. I did this mod to clean up the engine compartment and for reduced exhaust temperature. This does not do anything performance wise. Please excuse my dirty bike! I made sure that no dirt got inside any of the parts I took off.
Tools needed: 8mm socket
10mm socket
14mm socket
socket wrench
needle nose pliers
flat head screwdriver
maybe a breaker bar for the front engine mount bolt and screws
Parts needed: 2 packs of assorted rubbercaps from autozone
6ft. 7/32 rubber hose
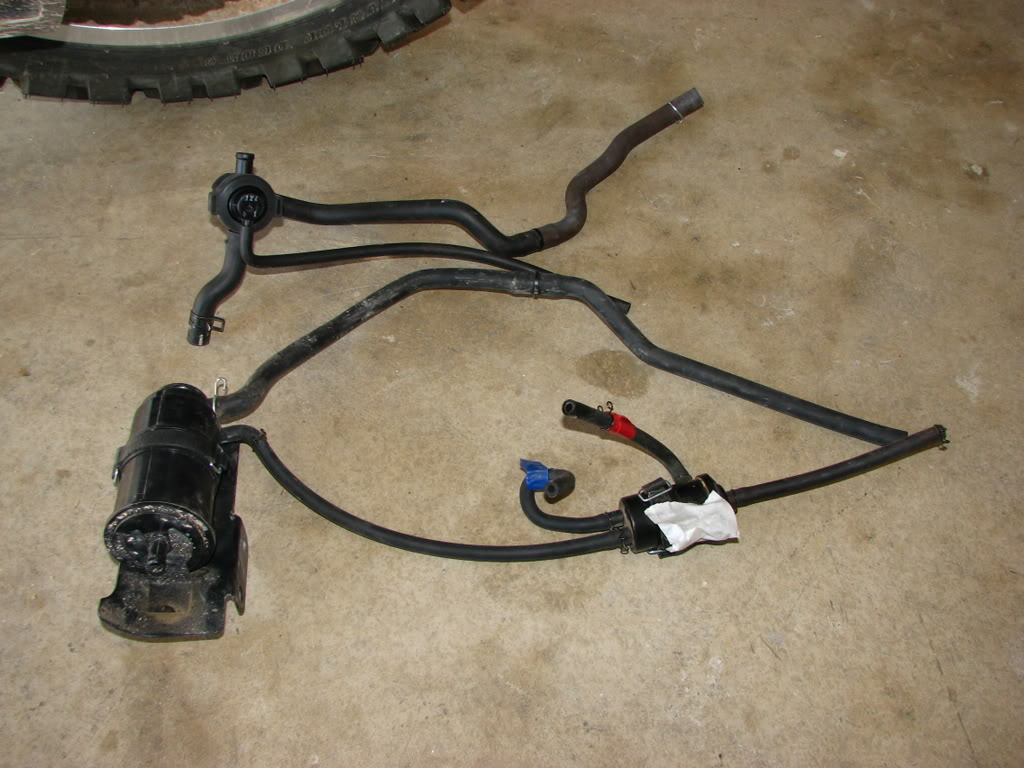
This is what comes off...
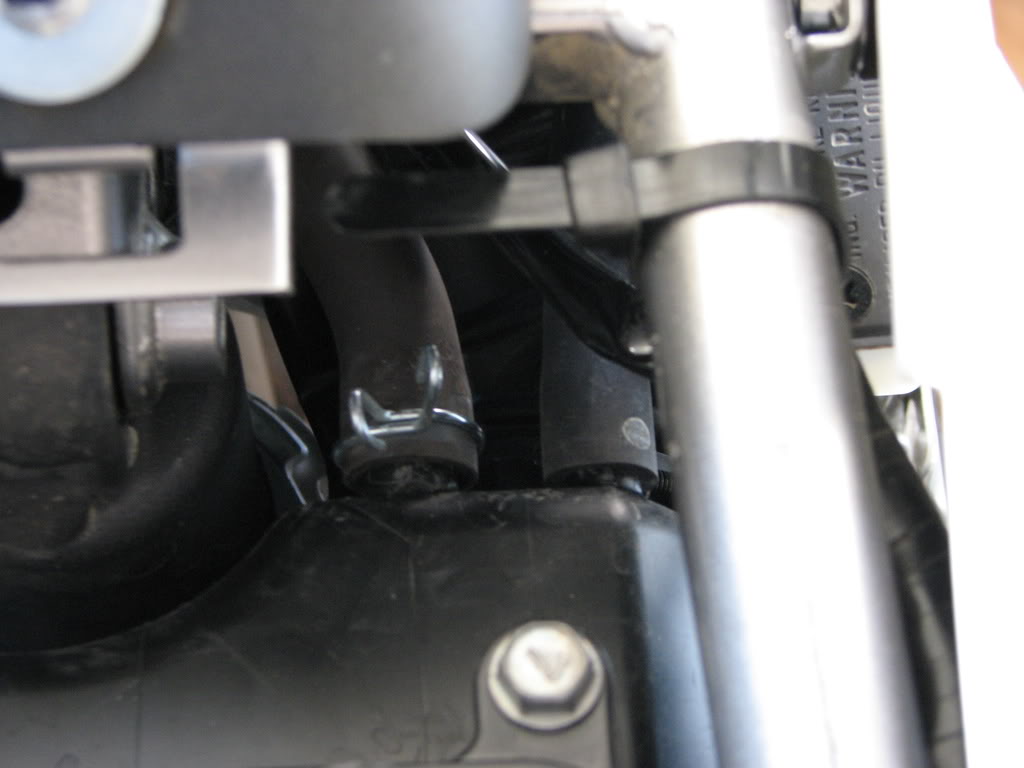
Start by unplugging the hoses that's connected to the airbox
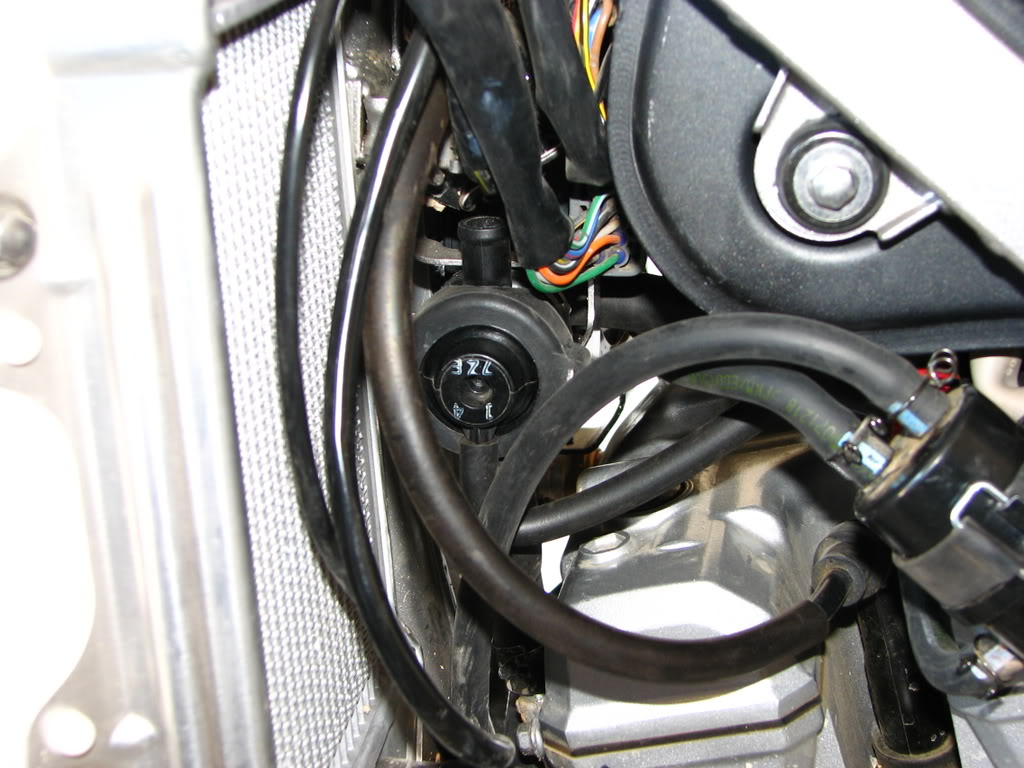
unplug the hose with round piece connected between the header and valve cover
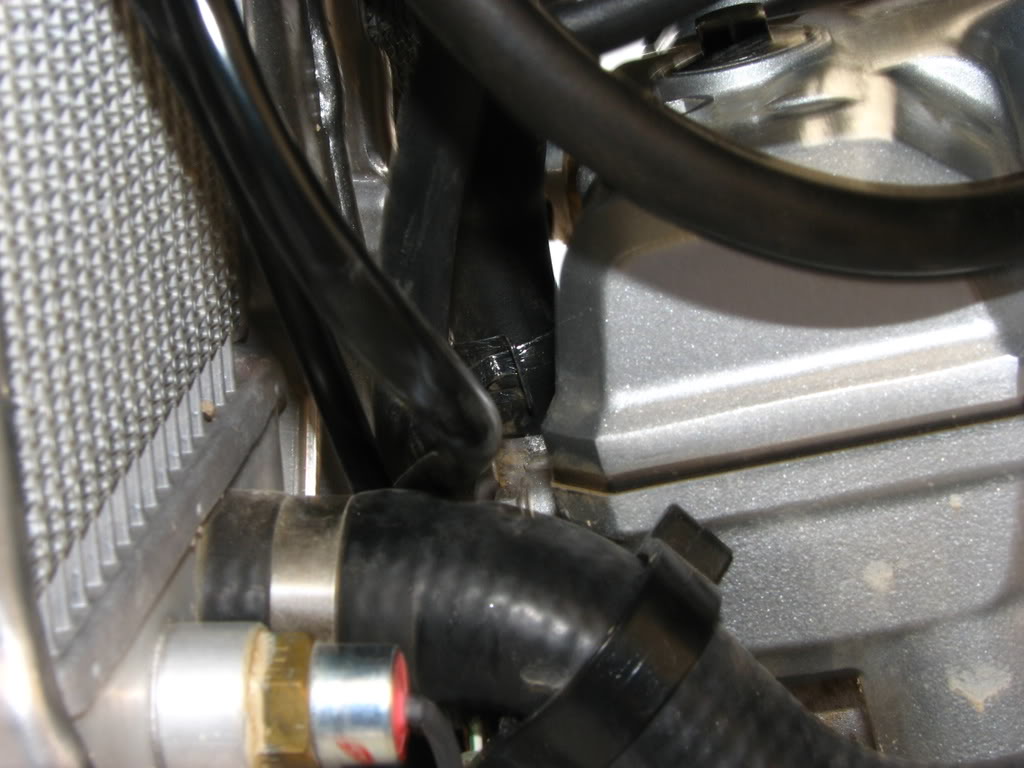
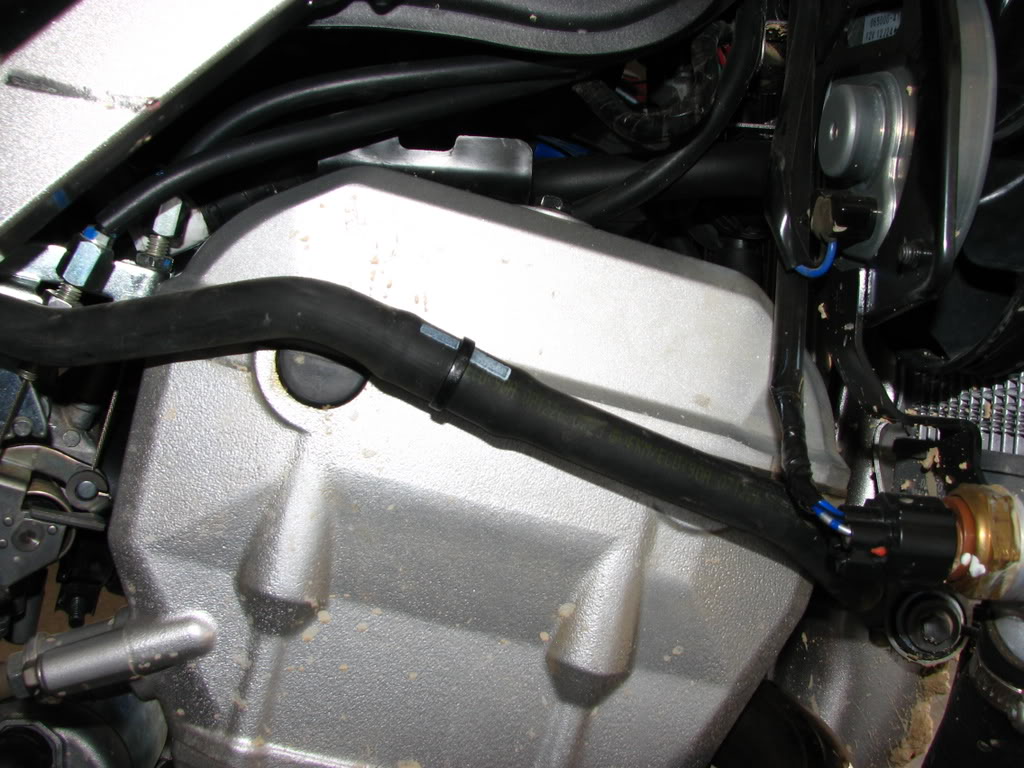
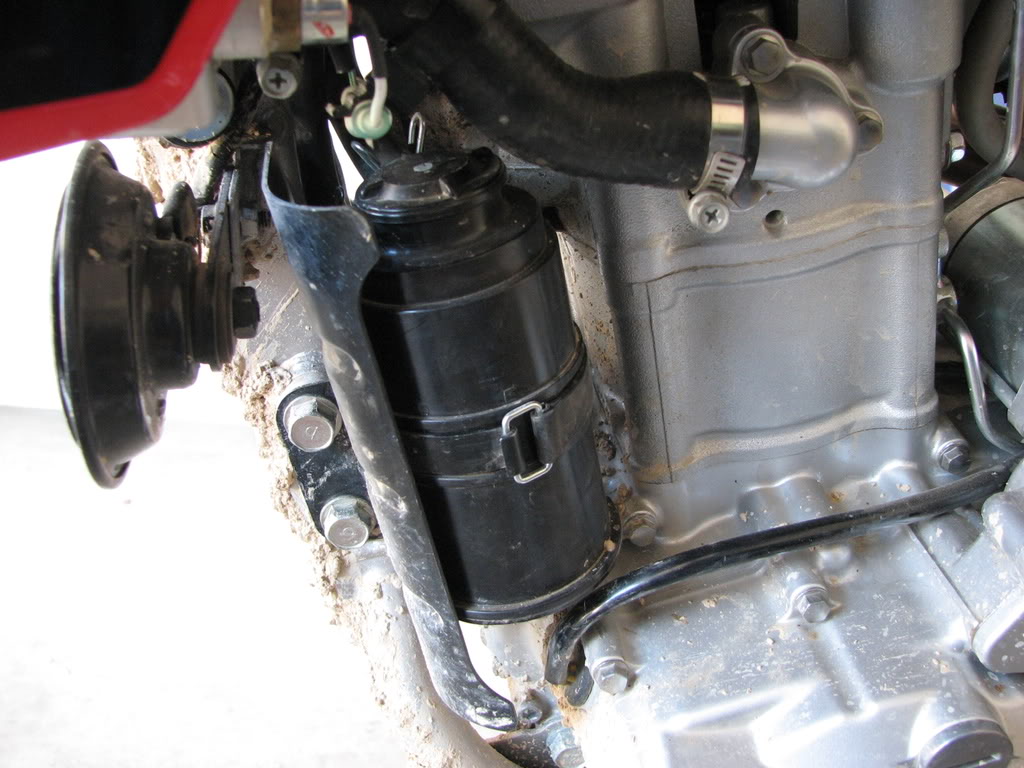
Remove the canister and the canister shield using a 14mm socket to remove the bolts.
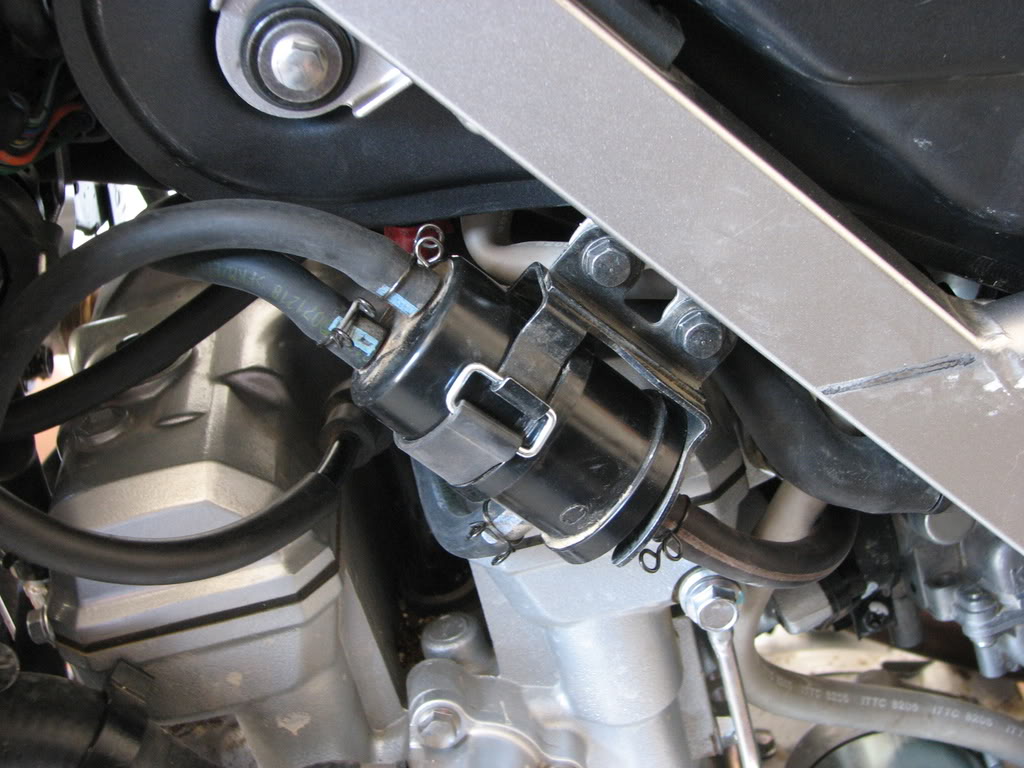
Remove the two 8mm bolts and remove the small canister...
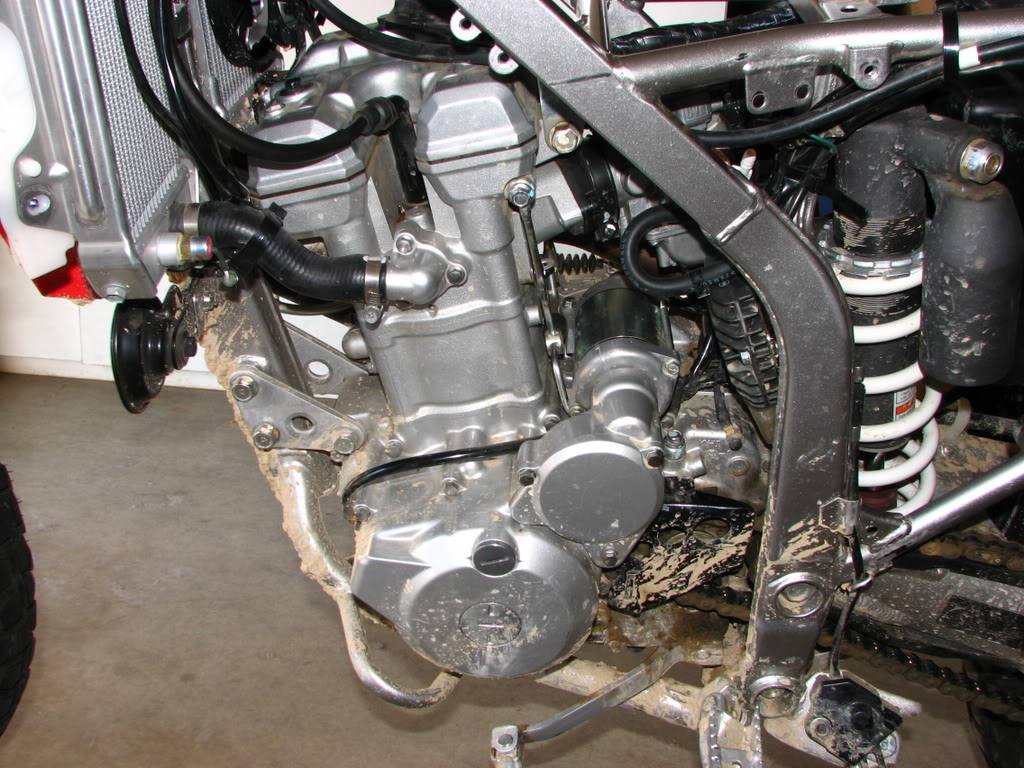
Remove the two hoses connected to the carburator. This picture is after I plugged it up. Sorry no picture before.
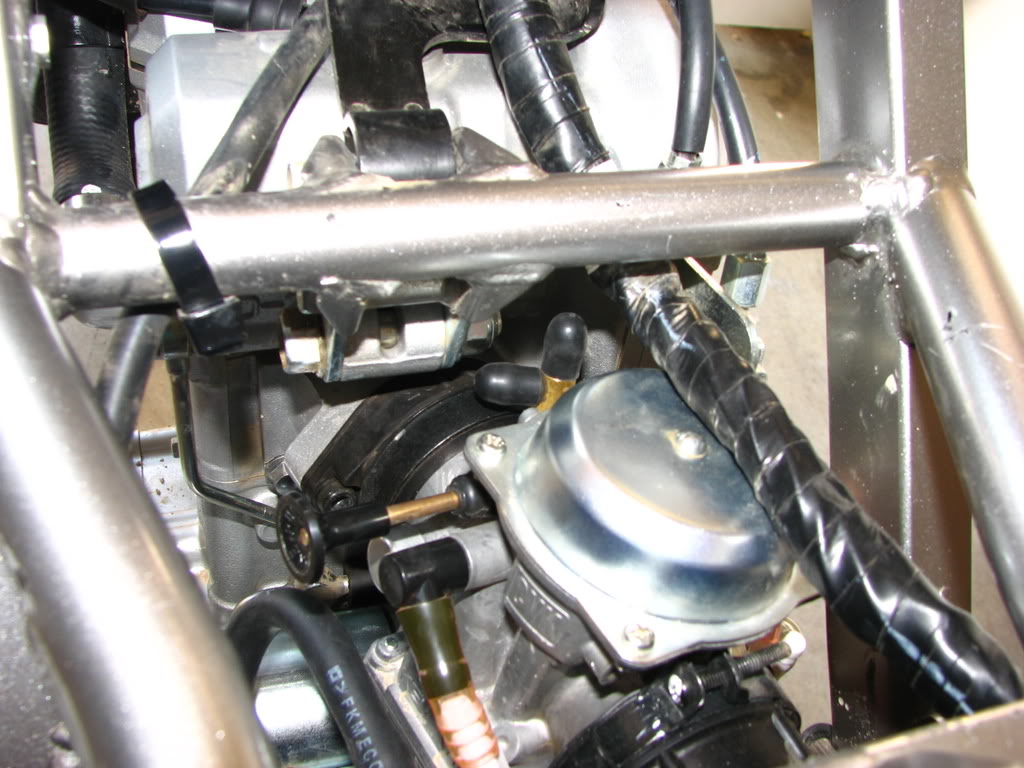
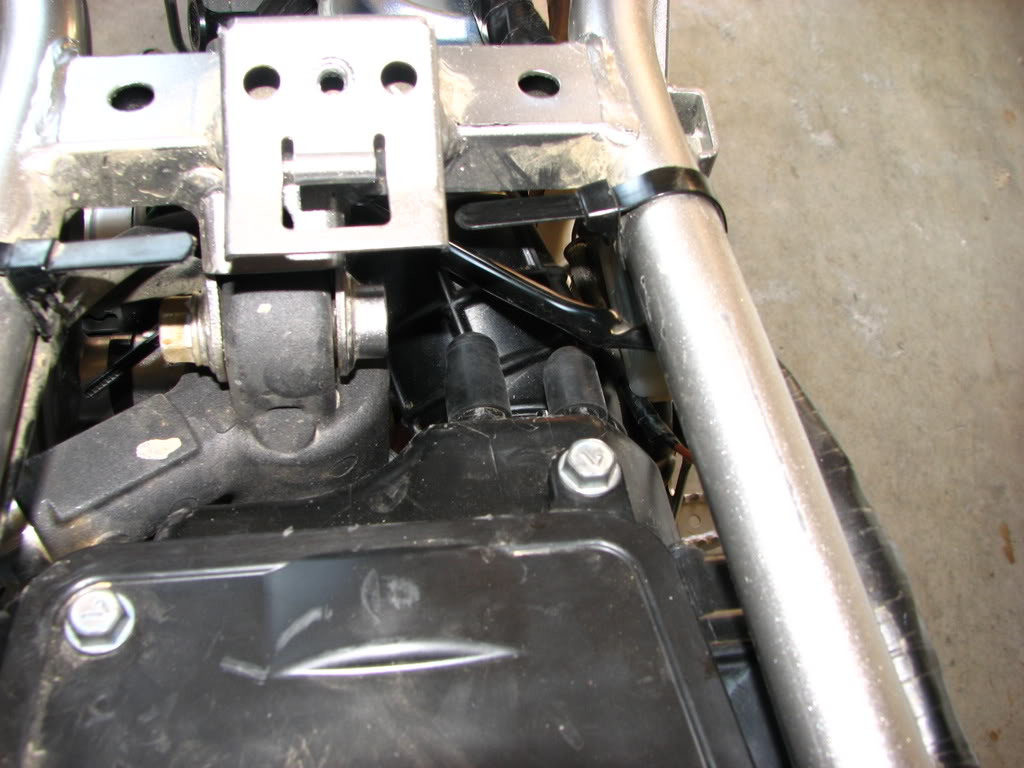
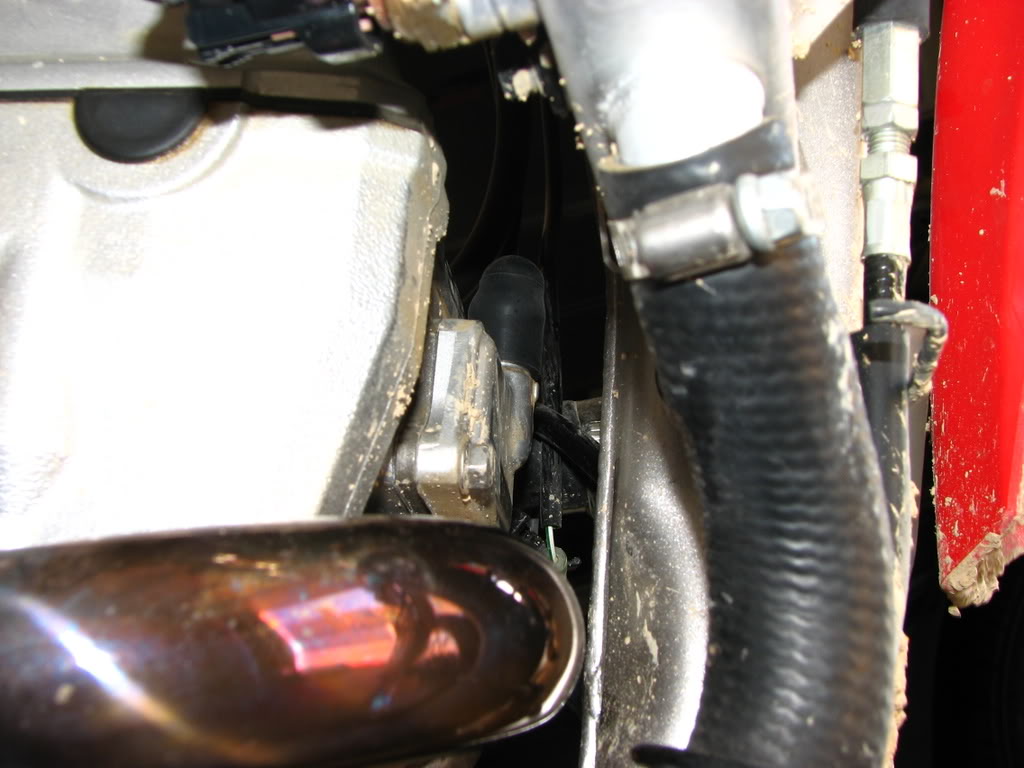
So this is what needs to be plugged up...
Two outlets on air box
Outlet by exhaust header
Two outlets on carburator

Make 2 vent hoses for the fuel tank red and blue vents. There should already a hose for one of the vents so you only need to cut 2 hoses.
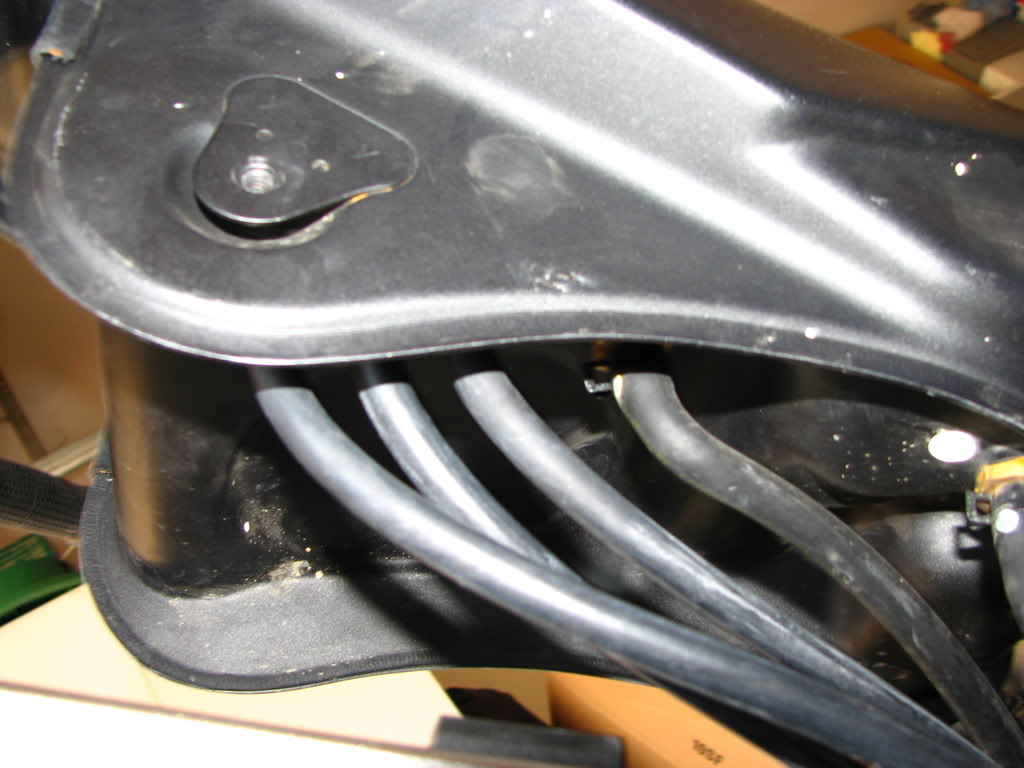
Run the vent lines to the rear shock...
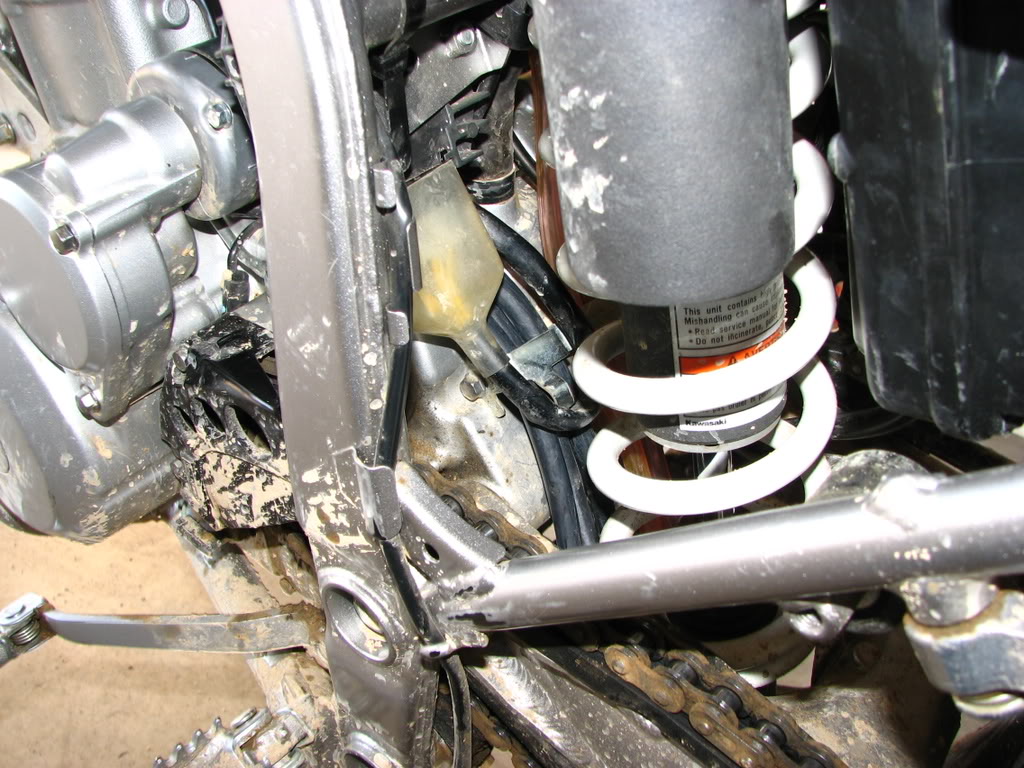
This is what it looks like after...
After doing this mod, be aware that when you overfill your tank, you will see fuel dripping from one of the hoses. This mod made it easier to pull the fuel tank off.
Tools needed: 8mm socket
10mm socket
14mm socket
socket wrench
needle nose pliers
flat head screwdriver
maybe a breaker bar for the front engine mount bolt and screws
Parts needed: 2 packs of assorted rubbercaps from autozone
6ft. 7/32 rubber hose
This is what comes off...

Start by unplugging the hoses that's connected to the airbox

unplug the hose with round piece connected between the header and valve cover


Remove the canister and the canister shield using a 14mm socket to remove the bolts.

Remove the two 8mm bolts and remove the small canister...

Remove the two hoses connected to the carburator. This picture is after I plugged it up. Sorry no picture before.

So this is what needs to be plugged up...
Two outlets on air box

Outlet by exhaust header

Two outlets on carburator

Make 2 vent hoses for the fuel tank red and blue vents. There should already a hose for one of the vents so you only need to cut 2 hoses.

Run the vent lines to the rear shock...

This is what it looks like after...

After doing this mod, be aware that when you overfill your tank, you will see fuel dripping from one of the hoses. This mod made it easier to pull the fuel tank off.


